Your sensor isn't too complex, but there are some components you should know about. This article will help you understand your sensor.
Understanding your Sensor:
The Top of your Sensor
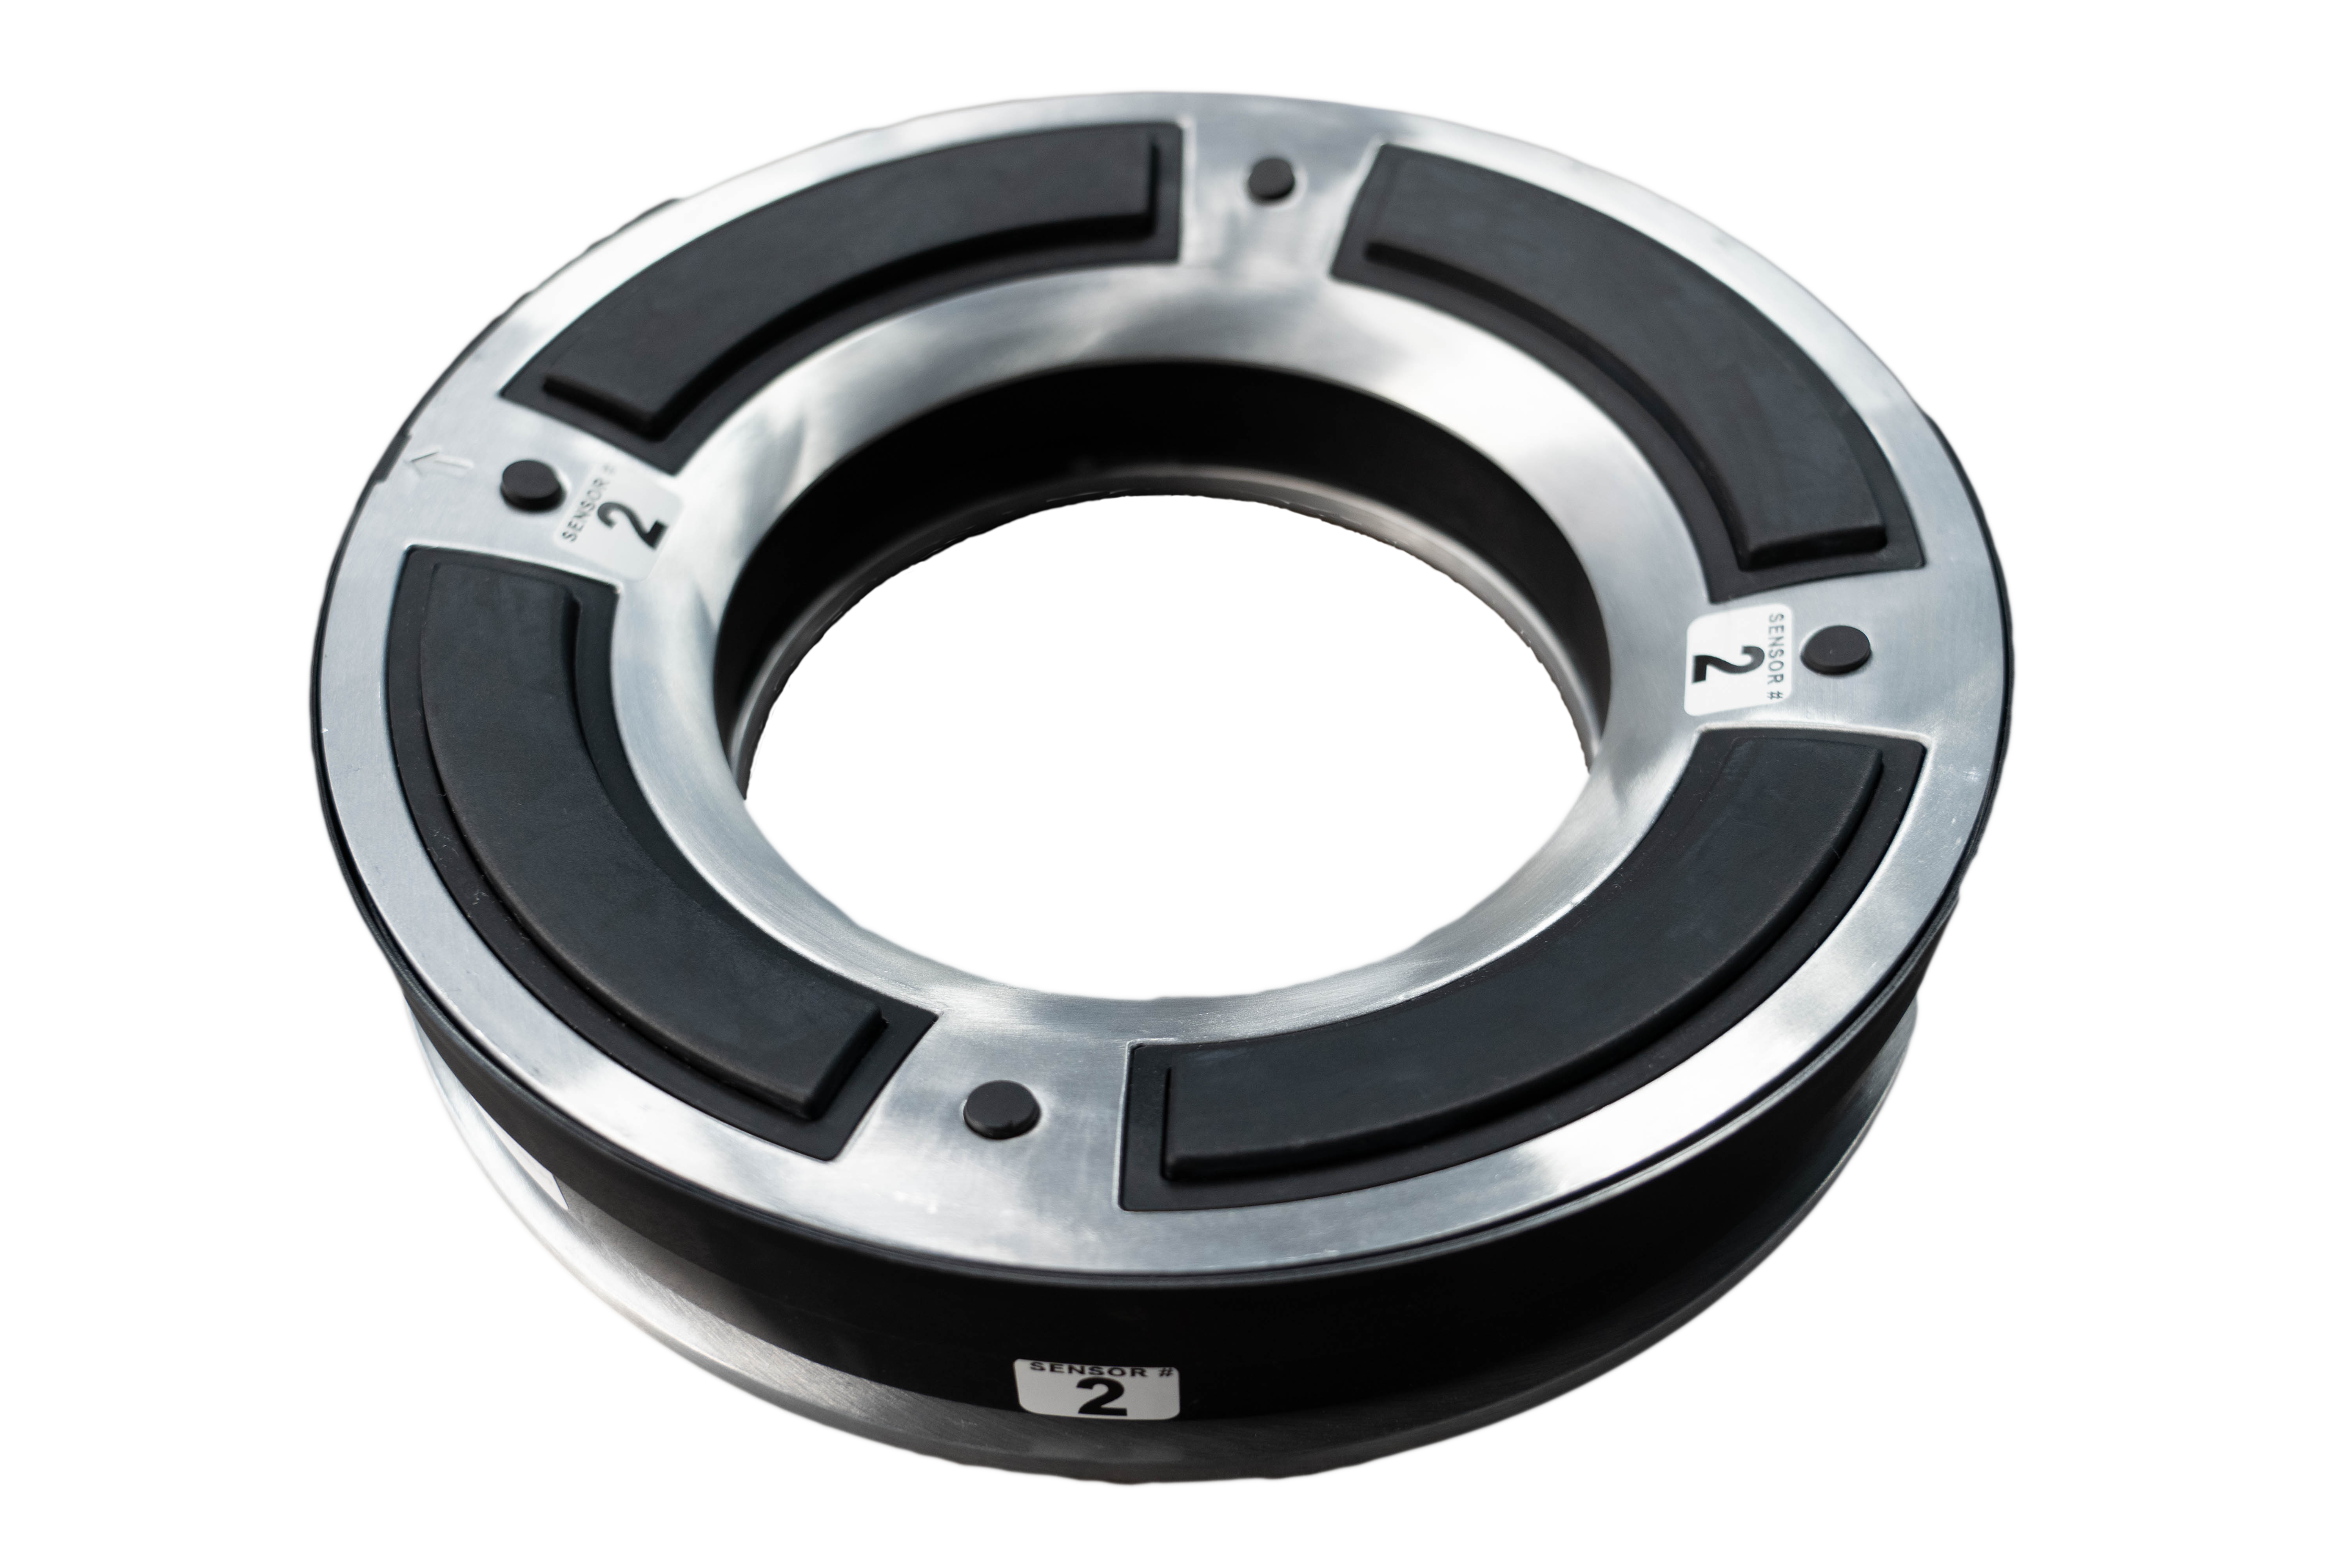
On the top of your sensors are four large black pads and four smaller circle pads that allow you to rest a keg on top of the sensor. Also on top of a sensor is a number- the sensor above is sensor #2. Each sensor you receive will have its own unique number so it is important to keep note of these numbers as it is the best way to identify your sensors.
NOTE: When viewed from the side, the top of a sensor is black and the bottom is silver. When carrying or moving a sensor, do not grab onto both the black top and silver bottom. Instead, grab only the black top of the sensor.
The Bottom of your Sensor
Below is an image of the bottom of your sensor with different components annotated with a red number and explained in its corresponding numbered section below:
.png?width=688&height=681&name=Bottom%20of%20Sensor%20(A).png) 1. RFID Reader
1. RFID Reader
The RFID reader receives and interprets radio waves in your tags. The radio waves in your tags transmit signals to your sensors through the RFID reader that help your sensors perform different functions. To learn more about how to use your tags and the RFID reader, click here.
2. Battery Compartment
This is where the batteries for a sensor are kept. To learn how to change the batteries of a sensor, click here.
3. JTAG Compartment & Red Light
The JTAG (Joint Test Action Group) Compartment is an interface for debugging and programming the sensor. You should NEVER open the JTAG Compartment unless told to do so by a Brewlogix representative.
Above the JTAG Compartment is a red light. Unlike the JTAG Compartment, you will need to pay attention to this light. Below is a breakdown of when this light will turn on:
- After a battery is plugged into a sensor, the light will flash for one second to let you know that the battery is not dead and the sensor is on.
- After the RFID button (see below) is pushed, the light will flash and stay on for a few seconds. This light being on lets you know that the RFID reader can now receive a tag. If the light is not on, the RFID reader can not receive a tag. If you can't place a tag in the RFID reader when the light is on, just press the RFID button again and try again.
- When a tag is received by the RFID reader, the light will flash quickly three times. This confirms that the sensor has received the command from the tag. If the light does not flash quickly three times, the sensor may not have received the command from the tag.
4. RFID Button
Pressing this button will "turn-on" the RFID reader.
NOTE: Remember, always push and hold the RFID button down firmly for a couple seconds when pushing the RFID button.
Once the RFID button has been pushed the red light will come on and while the light is on, you can slide a tag on top of the RFID Reader between the black top and silver bottom. To learn about using your tags and the RFID Reader, click here.
5. Sensor Sticker
The sensor sticker displays your sensor's model and part number. This data is purely informational. You will likely not need this information for any practical purpose.
6. MAC Address
The MAC address is listed in this panel and is designated with "MAC:" before the number. The MAC number is a sensor's name as it shows up in the online network. You may need this number if you are troubleshooting issues with a Brewlogix representative. If your Brewlogix representative asks for a MAC address, this is where you will find it.